Decoration Index
Decoration Options
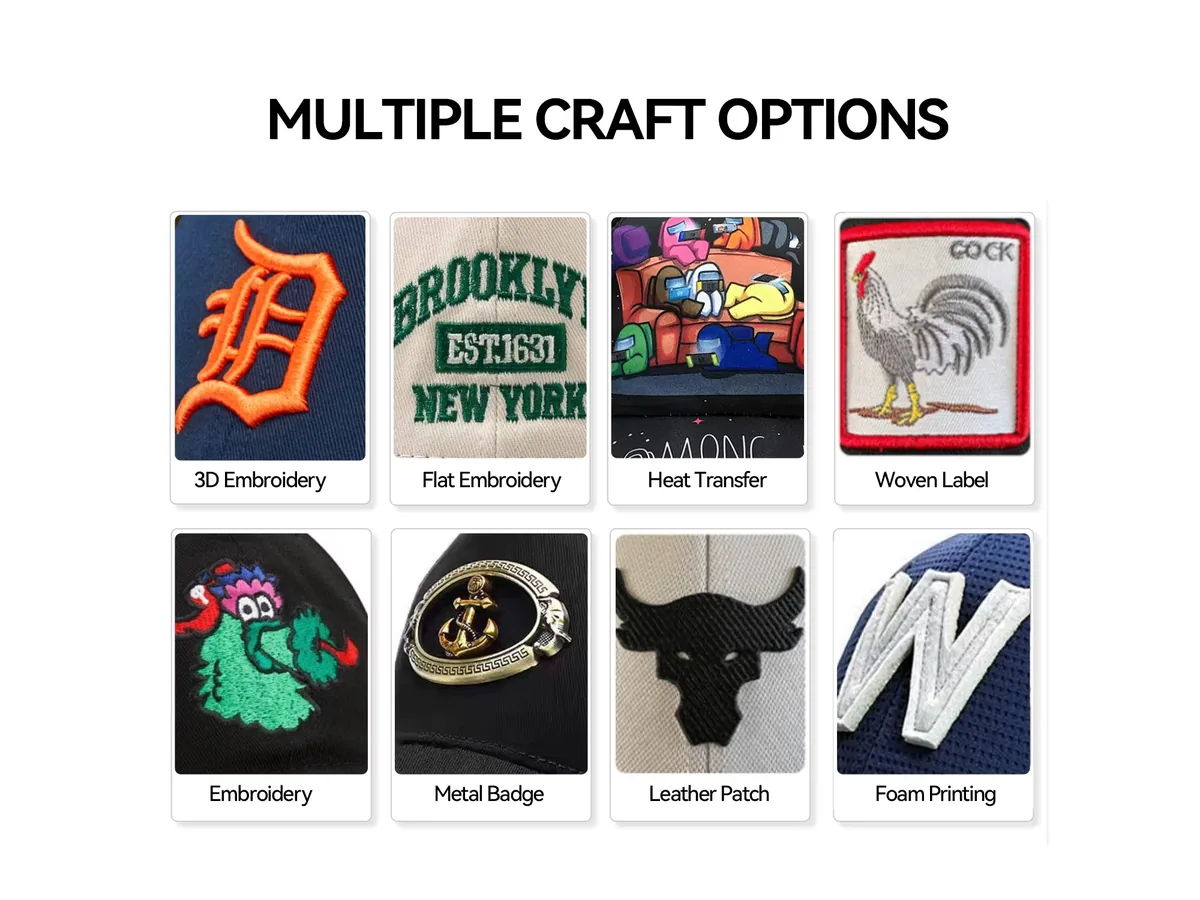
Every route we run for putting a logo on a cap — 6 embroidery styles,17 patch types, 4 edge finishes and23 leather patch material and finish combinations, each shown. Every option links to the page that explains it in full.
01
Embroidery
Embroidery puts thread into the fabric, which is why it is the most durable route and the one that survives repeated washing. The styles below differ in how the thread is laid down — that is what decides which artwork each one suits.
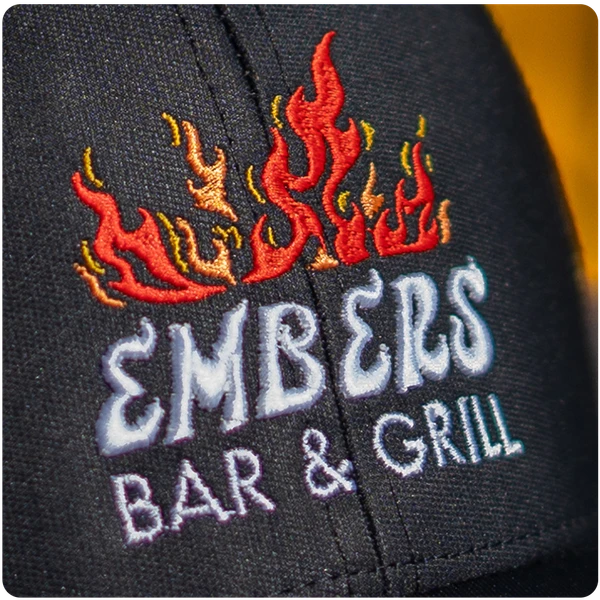
Flat Embroidery
The default route. Thread laid flat into the front panel; it pairs well with a dimensional stitch on the same logo, and it also works on the side and back panels.
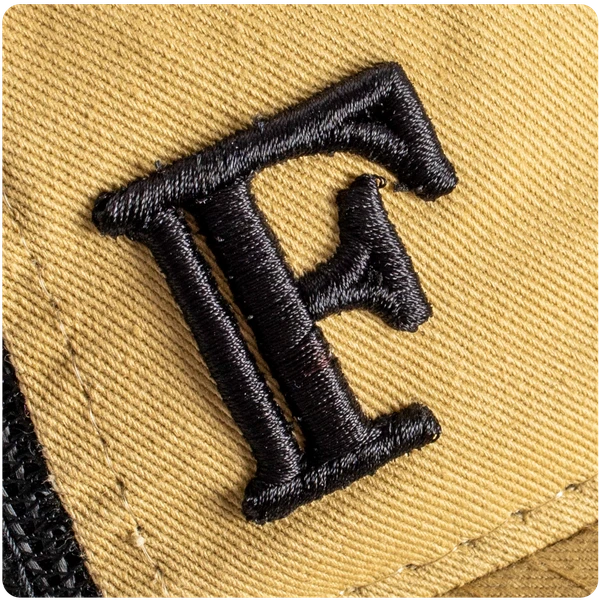
3D Foam Embroidery
Thread worked over a foam underlay so the mark sits proud of the panel. Most often combined with flat stitching on the same mark.
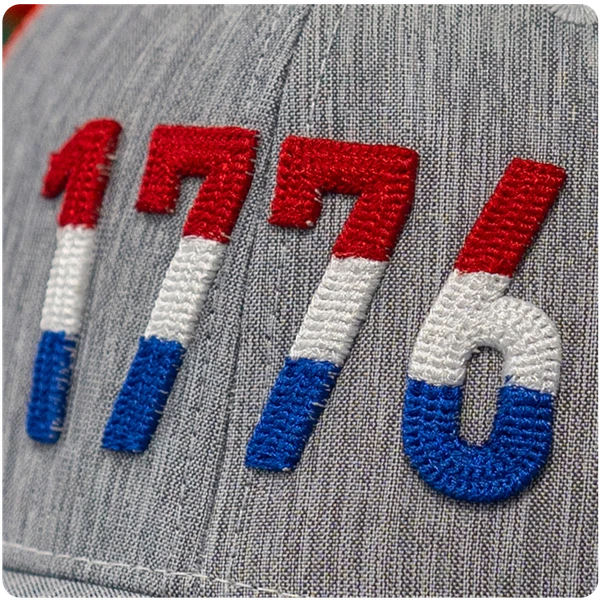
3D Chain Stitch
Interlinked loops rather than a flat fill, for a textured, vintage puff look. Available flat or raised; it shows best on a structured crown and is confirmed on a physical sample.
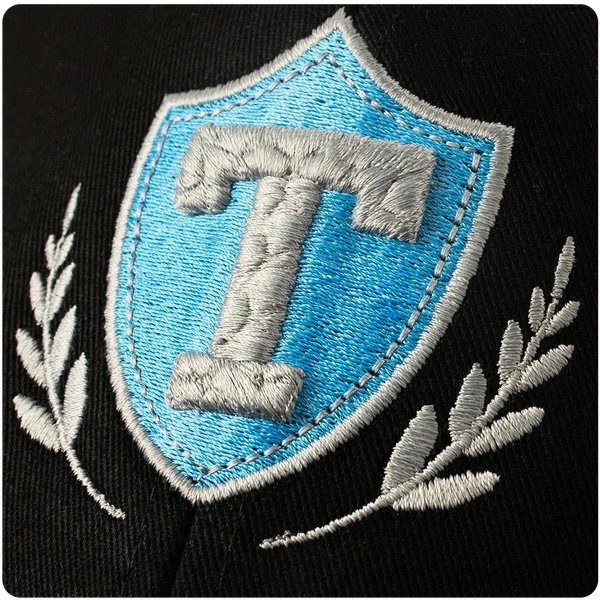
3D Geo Braid Stitch
A stylised braided stitch that gives dimension to blocky lettering. Suits structured crowns, and the effect is judged on a physical sample rather than a mockup.
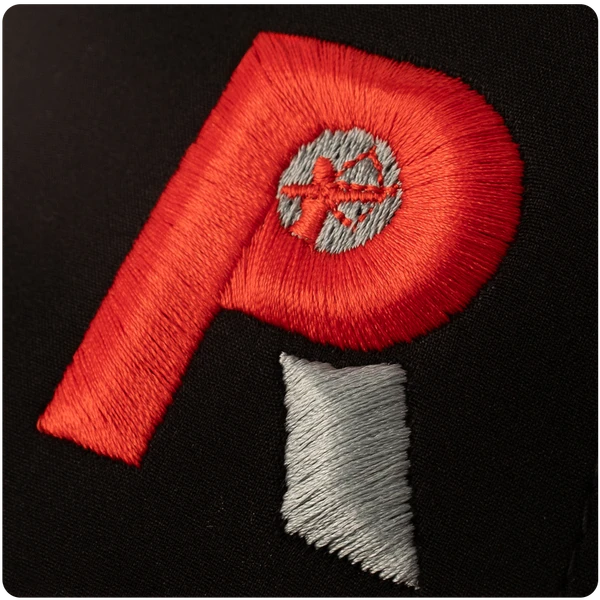
3D Contour Stitch
A stacked stitch that builds subtle dimension onto bold, simplified marks. Larger logos recommended — the effect disappears on small artwork.
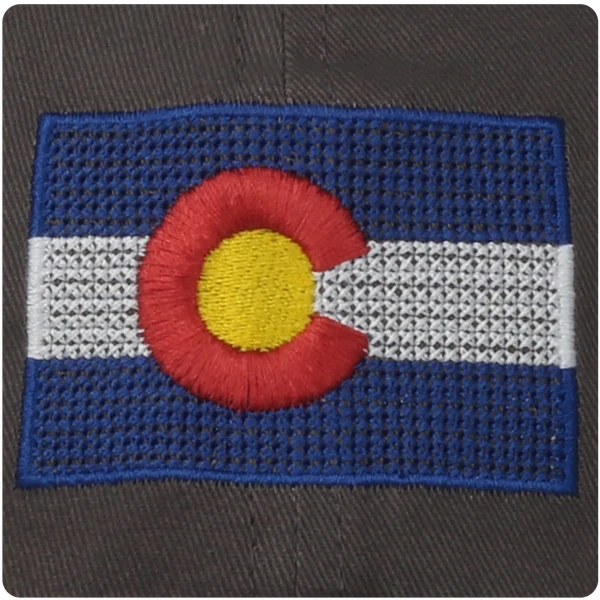
Cross Stitch
Tiny X-shapes forming a hand-crafted texture. Works best with simple icons and repeating patterns; flat stitch can be added to lift the detail. Flat embroidery only.
02
Patches
A patch is made separately and then attached. That is how fine detail, small text and multi-colour artwork get onto a cap — and it is what makes the edge finish a decision rather than a detail.
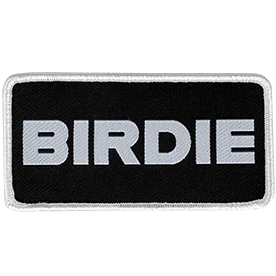
Woven Patch
The design is woven and the edge finished to stop fraying. The route that holds fine detail and small text most reliably.
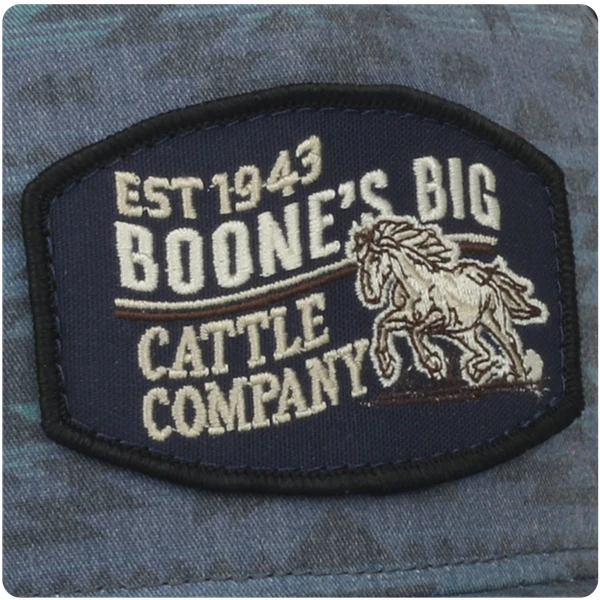
Embroidered Fabric Patch
Embroidery on a separate fabric base, then attached. Simple graphics only — keep type at roughly 0.25 inch high or larger. Dimensional embroidery can be worked on the patch face with a flat-stitched edge.
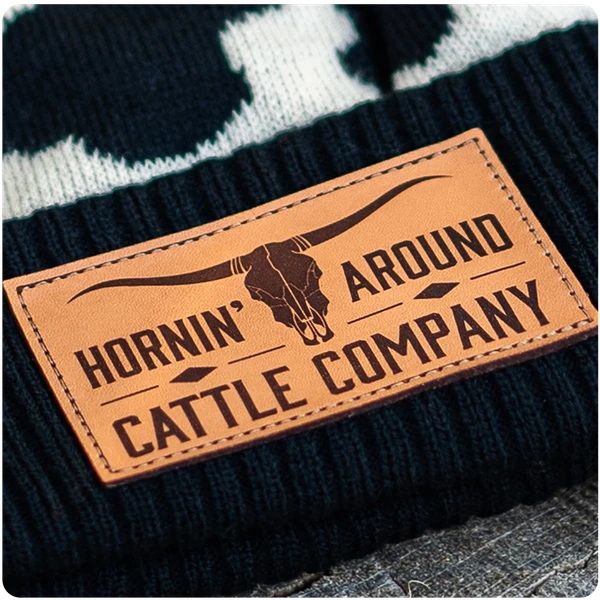
Genuine Leather Patch
Etched artwork on genuine leather, most often in tan or chocolate. Best for single-colour graphics rather than multi-colour marks.
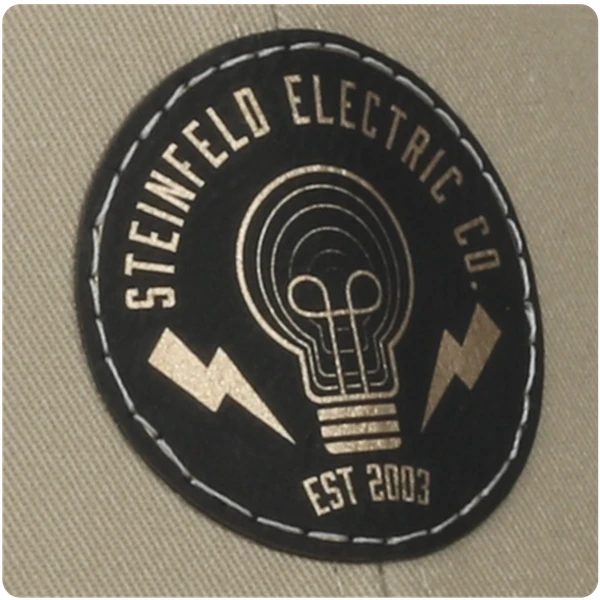
Faux Leather Patch
The same etched look on a synthetic base, at a lower cost and with more consistent colour from run to run.
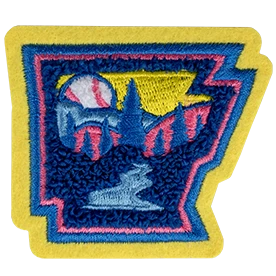
Chenille Patch
A tufted, raised yarn patch. The classic varsity look, and it suits large block letters and mascots rather than fine detail.
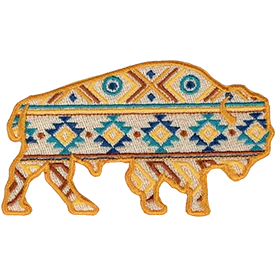
Embroidered Appliqué
A fully embroidered emblem, made separately and then attached. It reads like direct embroidery on the cap, with the edge finished before it goes on.
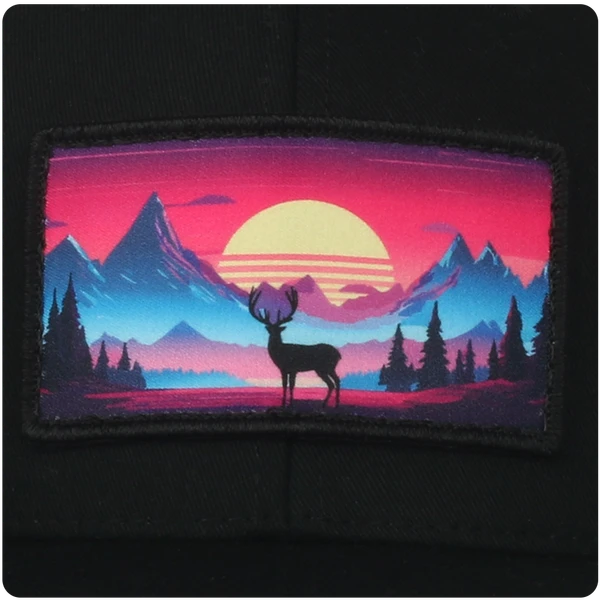
Sublimated Patch
Full-colour print on a patch base. The route for complex, detailed or photographic artwork.
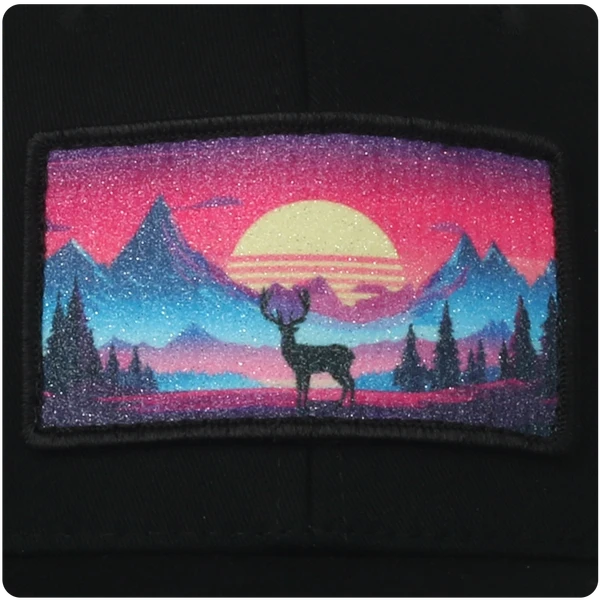
Glitter Sublimated Patch
Sublimated print with glitter embedded in the base, so the sparkle does not flake off in wear.
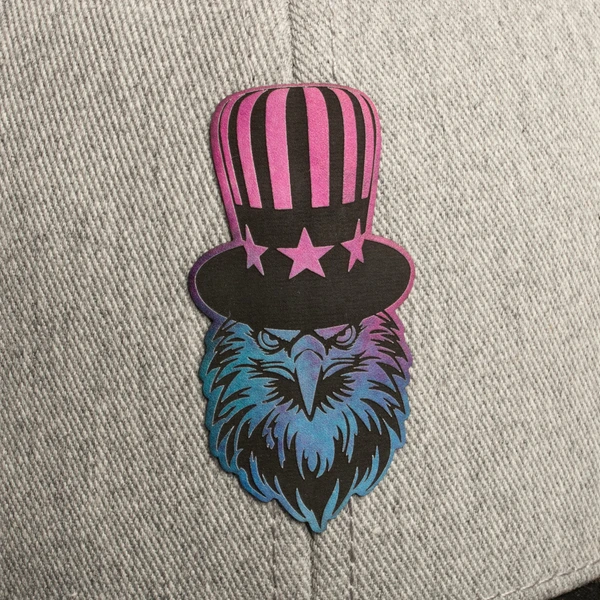
UV Full Colour Print Patch
Full-colour printing on a patch base, for artwork carrying many colours, gradients or photographic detail.
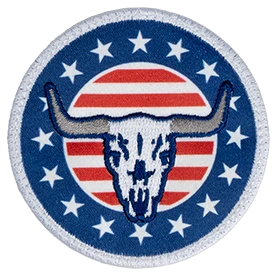
Print Stitch Patch
Full-colour print and embroidery combined on one patch, for artwork that has both flat colour areas and stitched detail.
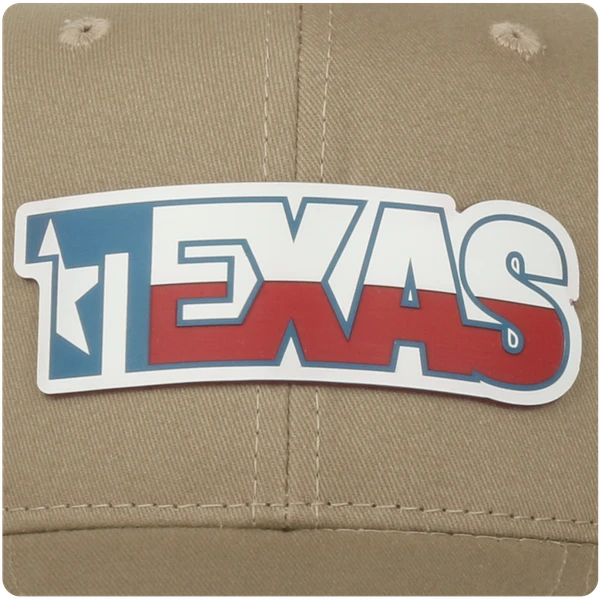
Acrylic Patch
Etched depth used to layer colour. Works best on a structured crown and holds a clean edge.
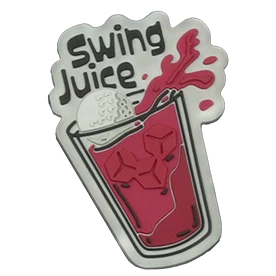
Soft PVC Patch
A flexible, rubber-like patch with a soft hand feel. Durable and forgiving on a curved crown, and it holds a clean moulded edge.
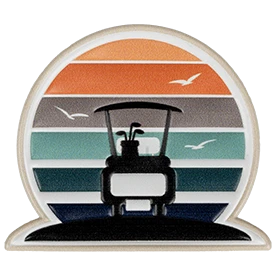
Domed Silicone Patch
A domed, glossy finish that lifts the mark off the panel and gives it a tactile surface. Available in metallic and non-metallic finishes.
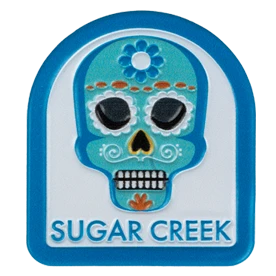
Flat Silicone Patch
A flat finish with a subtle raised edge, so the mark reads as applied rather than printed. Available metallic or non-metallic.
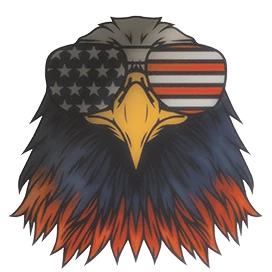
Heat Transfer Patch
Print transferred under heat and pressure. Carries more detail than screen print, including fine type and tonal artwork.
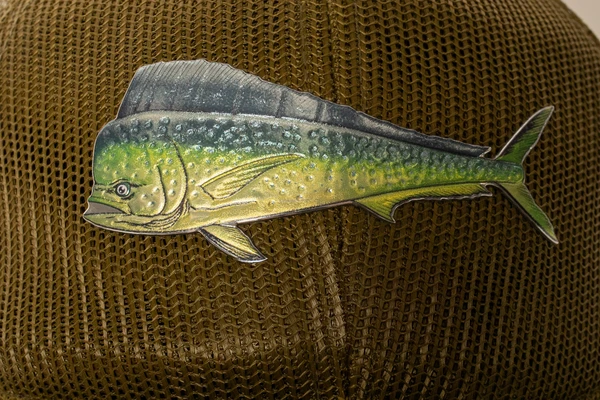
3D Embossed Print
A raised print that gives the mark a tactile, three-dimensional surface without stitched thread.
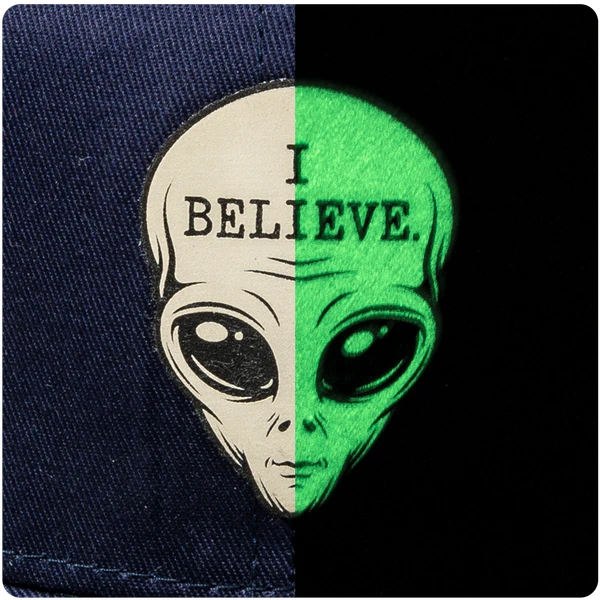
Glow-in-the-Dark Patch
Charges in light and emits afterwards, with a soft putty-like finish and etched detail. A novelty finish for event and retail runs.
03
Patch Edge Finishes
The edge is what the buyer touches first, and the part that fails first if it is chosen badly. These four finishes are not interchangeable — each suits a different patch shape and a different level of wear.
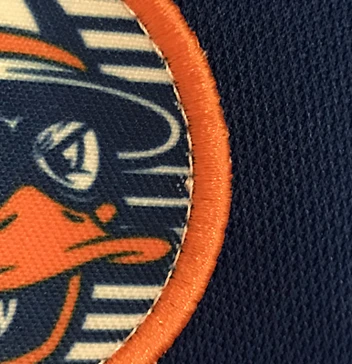
Satin Stitch Edge
A close, even stitch running along the patch border. The tidiest edge finish, and the one that reads most like a sewn-on emblem.
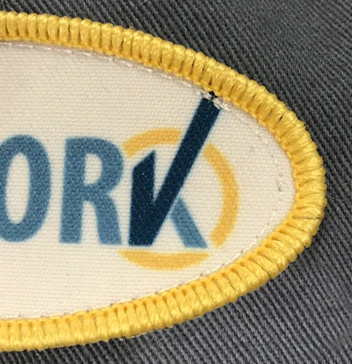
Merrowed Edge
A three-thread overlock wrapped around the patch outline. The most durable edge and the default on embroidered and woven patches; it does not follow tight inside curves.
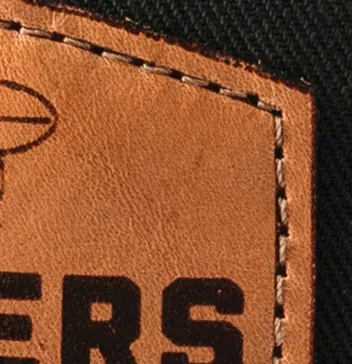
Running Stitch Edge
A single stitch line worked around the patch once it is on the cap, rather than a wrapped border. Lighter and less raised than a merrowed edge.
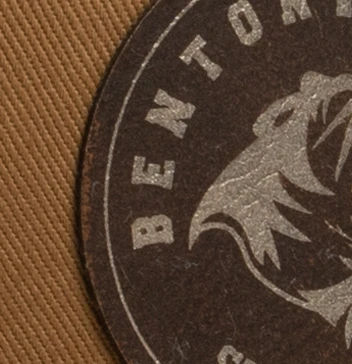
Heat Seal Edge
The patch is bonded to the panel under heat and pressure instead of being sewn. The flatter and lighter attachment.
04
Leather Patch Materials and Finishes
Leather patches are cut to a die and finished by hand, so the material and the surface finish are two separate decisions. Everything below is built to order: pick the material first, then the finish, then the outline and size.
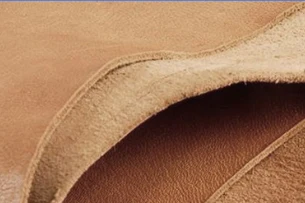
Full-Grain Leather Patch
The top layer of the hide with the natural grain intact. The most durable leather option and the one that ages best.
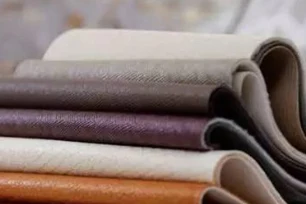
Split Leather Patch
The layer beneath the grain, with a more uniform surface and a lower cost than full-grain.
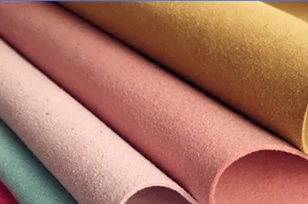
Microfibre Leather Patch
A synthetic microfibre with a suede-like hand feel. Consistent from batch to batch, and available in more colours than genuine leather.
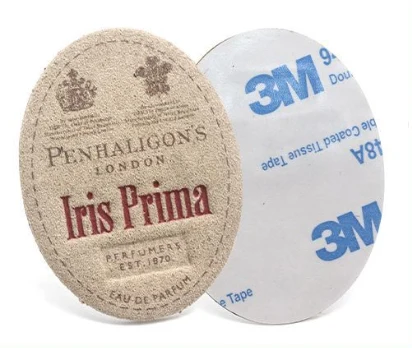
Self-Adhesive Microfibre Leather Patch
A microfibre patch with an adhesive backing, so it can be applied without stitching. Used where the buyer applies the mark themselves, or on a cap that cannot take a needle.
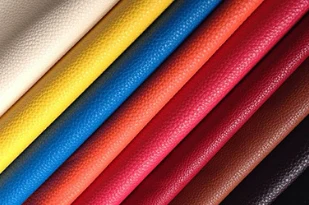
PU Leather Patch
A polyurethane leather with a consistent surface and even colour. The entry point to a leather look.
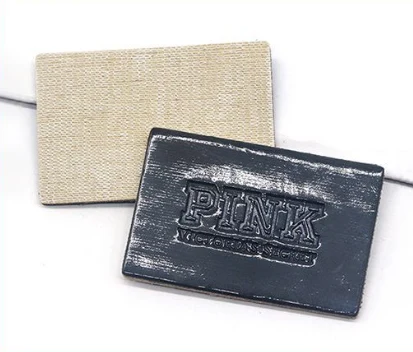
Heat-Pressed PU Leather Patch
PU leather with the mark pressed in under heat, so the logo sits in the surface rather than on it.
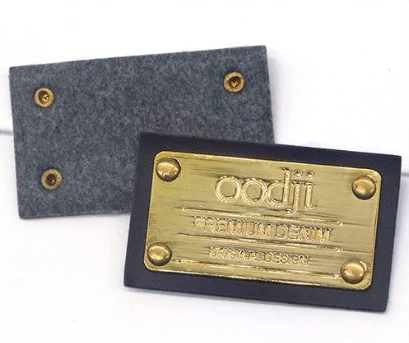
PU Leather Patch with Metal Rivets
PU leather finished with metal rivets at the corners. Functional as well as decorative on a thicker patch.
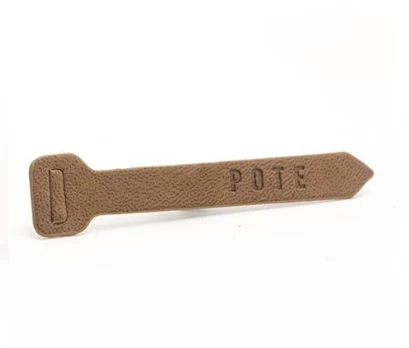
Double-Layer PU Patch, Custom Shape
Two layers of PU leather cut to a custom outline, so the patch carries a second colour and a visible edge.
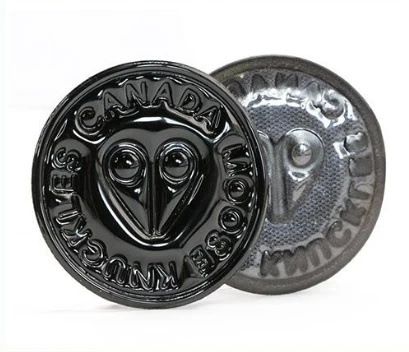
TPU Patch, High-Frequency Welded
A TPU patch welded to the surface at high frequency, with no stitch line and a sealed edge.
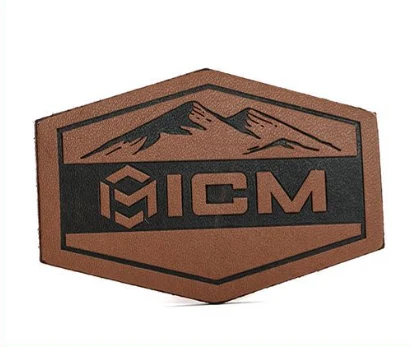
Heat-Pressed Genuine Leather Patch
Genuine leather with the mark pressed in under heat. Single-colour marks read best, because the relief is what carries the design.
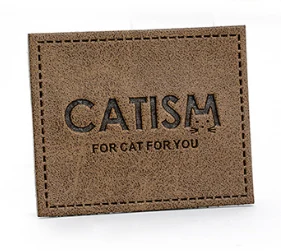
Heat-Pressed Leather Patch
The standard pressed leather patch. The relief comes from the mould, which fixes the smallest line that survives.
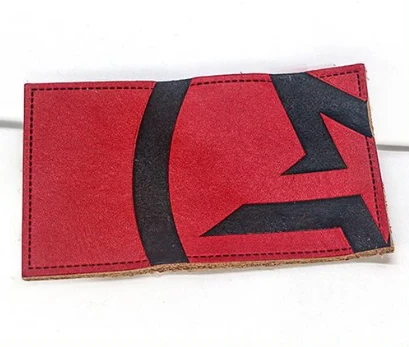
Screen Printed and Heat-Pressed Leather Patch
Genuine leather carrying a printed mark that is then heat pressed, so the colour sits into the surface.
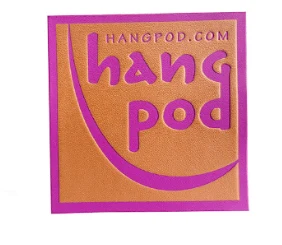
Screen Printed Leather Patch
A printed mark applied directly to the leather. Suits single-colour or low-colour artwork, where the print sits into the grain rather than on top of it.
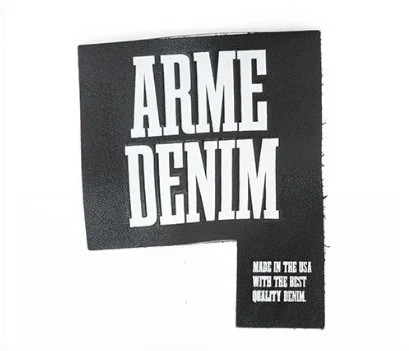
Multi-Line Printed Leather Patch
Several lines of copy stacked on one patch. The spacing between lines is set at the mould stage, so the line count is confirmed before production rather than adjusted on the proof.
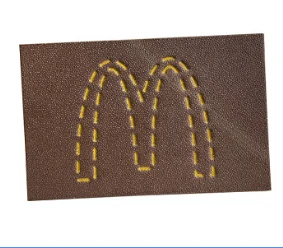
Heat-Pressed and Screen Printed Leather Patch
A pressed relief with a printed colour layer on top, for a mark that carries both texture and colour.
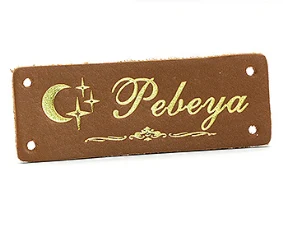
Gold Foil Stamped Leather Patch
Gold foil applied under heat and pressure for a metallic mark. A high-contrast finish on dark leather.
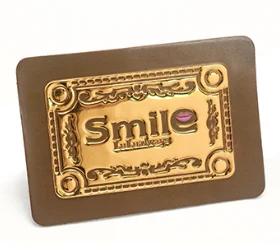
Gold Foil and Heat-Pressed Leather Patch
Gold foil combined with a pressed relief, so the mark carries both colour and depth.
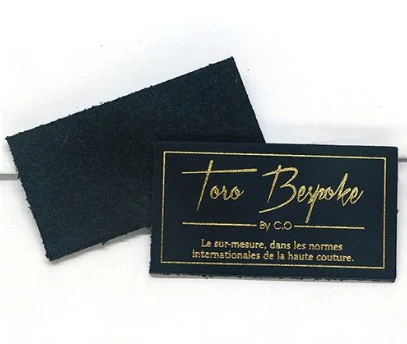
Gold Foil on Genuine Leather
Gold foil worked across several lines of copy on genuine leather. The contrast is strongest on darker leather, where the foil is the only colour in the mark.
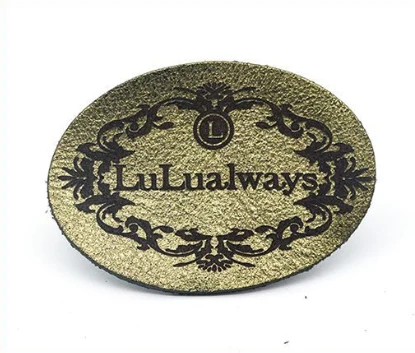
Laser Etched Genuine Leather Patch
The mark is burned in by laser, which holds finer detail than a press and needs no mould.
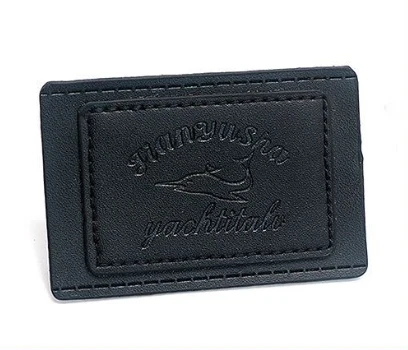
Stitched Genuine Leather Patch
Genuine leather with a stitched border or stitched artwork. The heaviest and most durable of the finishes here.
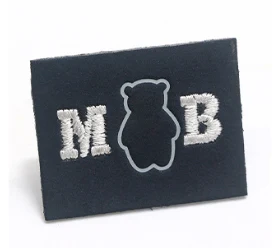
Embroidered Leather Patch
Thread worked directly onto a leather base, so the patch carries both the leather grain and a stitched mark.
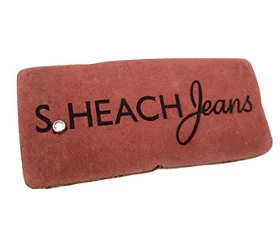
Rhinestone Set Leather Patch
Stones set into the leather surface. Stone size and density decide how much sparkle the mark carries.
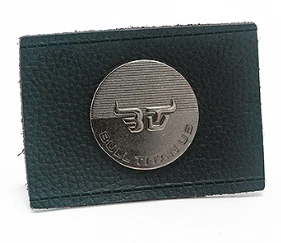
Stamped Metal Badge
A metal badge stamped to shape and attached by stitch or rivet. The heaviest option here, and usually paired with a leather patch.
05
Printing and Surface Finishes
Printing puts ink or dye onto the surface instead of thread into it. It is the only way to carry full-colour artwork, and the routes below differ in how much detail they hold and how they age.
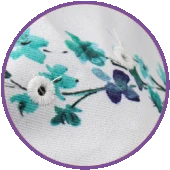
Sublimation Printing
Dye turned to gas and bonded into the fabric. The only route that carries a full-colour, all-over pattern, and it needs a polyester base.
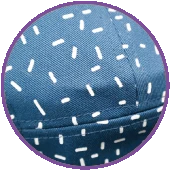
Screen Printing
Ink pushed through a screen. No colour limit, but gradients, thin lines and fine detail are difficult — artwork needs solid blocks and at least 1pt line weight.
Heat Transfer
Print transferred under heat and pressure. Carries more detail than screen print, including fine type and tonal artwork.
Reflective Printing
Ink that returns light to its source. Used where the wearer needs to be visible at night.
Foam Print
Ink with a foaming agent that expands under heat, giving a raised print without the cost of 3D embroidery. Suits block shapes; fine lines blur as the ink rises.
Laser Perforation
Holes cut by laser for ventilation or as a pattern, so a cap can breathe without a mesh back. Needs a fabric that cuts cleanly.
Rhinestone
Stones set by heat, glue or stitch. Stone size and density decide how much sparkle the mark carries.
Embossed and Debossed
Relief pressed into leather or a panel rather than applied on top. The mould decides the smallest line that survives.
Jacquard
The pattern is woven into the cloth with coloured yarns rather than printed on it, so there is no layer to crack or wash away.
Tie-Dye
Hand-dyed, piece-dyed or printed. The first decision is whether you want every piece different or the batch consistent — that decides which route.
06
How a Patch Is Attached
- Heat sealed — the patch is bonded under heat and pressure. The faster and lighter route, and the patch sits flat against the panel.
- Stitched — the patch is sewn on around its outline. Slower and heavier, but the more secure attachment and the one to choose for thick bases or anything that will be washed often.
07
Where the Mark Goes
- Front centre — the default. The widest flat area, and the position that carries the largest mark.
- Front left and front right corner — smaller marks that sit beside the front panel seam.
- Side panel — a secondary mark, or the main mark on a cap with a busy front.
- Back arch — above or below the closure. Used for a second logo, a name, or a woven label.
- Underside of the bill — visible when the bill is turned up, which is how a large share of the market wears a cap.
08
The Decoration Process
Five steps from the brief to production. Nothing is cut until the mockup and the sample are approved.
- 1
Choose the style
Cap shape, crown structure and fabric. This decides which decoration routes are available at all.
- 2
Choose the decoration and the location
Embroidery, patch or print, and where on the cap it goes.
- 3
Send the artwork
Vector preferred (AI, EPS, PDF or SVG). Raster files can be worked from, but they add a step and can change how the mark resolves.
- 4
Confirm the specification
Colour, material, finish, size and placement are written down before anything is cut, so a repeat order behaves the same way.
- 5
Approve the sample, then bulk
You approve a physical sample first. Bulk follows the approved sample, and pre-shipment photographs go out before dispatch.
The route is decided by the artwork, not by the cap
The single question that sorts most of these routes is how much colour and how much detail the mark carries. Flat colour and simple shapes belong in embroidery. Fine lettering, small text and multi-colour marks belong on a woven patch. Photographic or full-colour artwork belongs in print.
For leather, there are two decisions rather than one: the material and the surface finish. Full-grain ages best, split leather is more uniform, and microfibre takes colour that real leather cannot. The finish then decides whether the mark is pressed, printed, foiled, lasered or stitched. The outline and size are confirmed after both, because they are cut to a die.
Send the logo file with the enquiry. The answer is usually obvious from the file, and it is cheaper to settle it before sampling than after — several of the dimensional stitches on this page only read correctly on a physical sample, and we would rather tell you that than show you a mockup that cannot be produced.
Send the logo and we will tell you which route suits it
Free artwork proof and a factory-direct quote. Sample approval comes before bulk production, and pre-shipment photographs go out before dispatch.